How to Identify & Fix Ice Dams on Your Roof This Winter
Winter can be tough on your home, especially your roof. One of the biggest cold-weather problems homeowners face is ice dams—thick ridges of ice that form along the roof’s edge, preventing proper drainage and leading to leaks, roof damage, and even structural issues. To fix ice dams, it’s important to address insulation, ventilation, and proper drainage before they cause costly repairs.
At Pete’s Builders, we understand the risks ice dams pose and the importance of proper prevention and repair. In this guide, we’ll show you how to identify, remove, and prevent ice dams to keep your roof in top condition all winter long.
What is an Ice Dam?
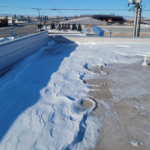
An ice dam forms when heat from your home escapes through the roof, causing snow to melt and refreeze near the edges. This frozen buildup blocks water from draining properly, which can lead to roof leaks, gutter damage, and even interior water damage.
How to Spot Ice Dams on Your Roof
Early detection of ice dams can help prevent major damage. Look for these common signs:
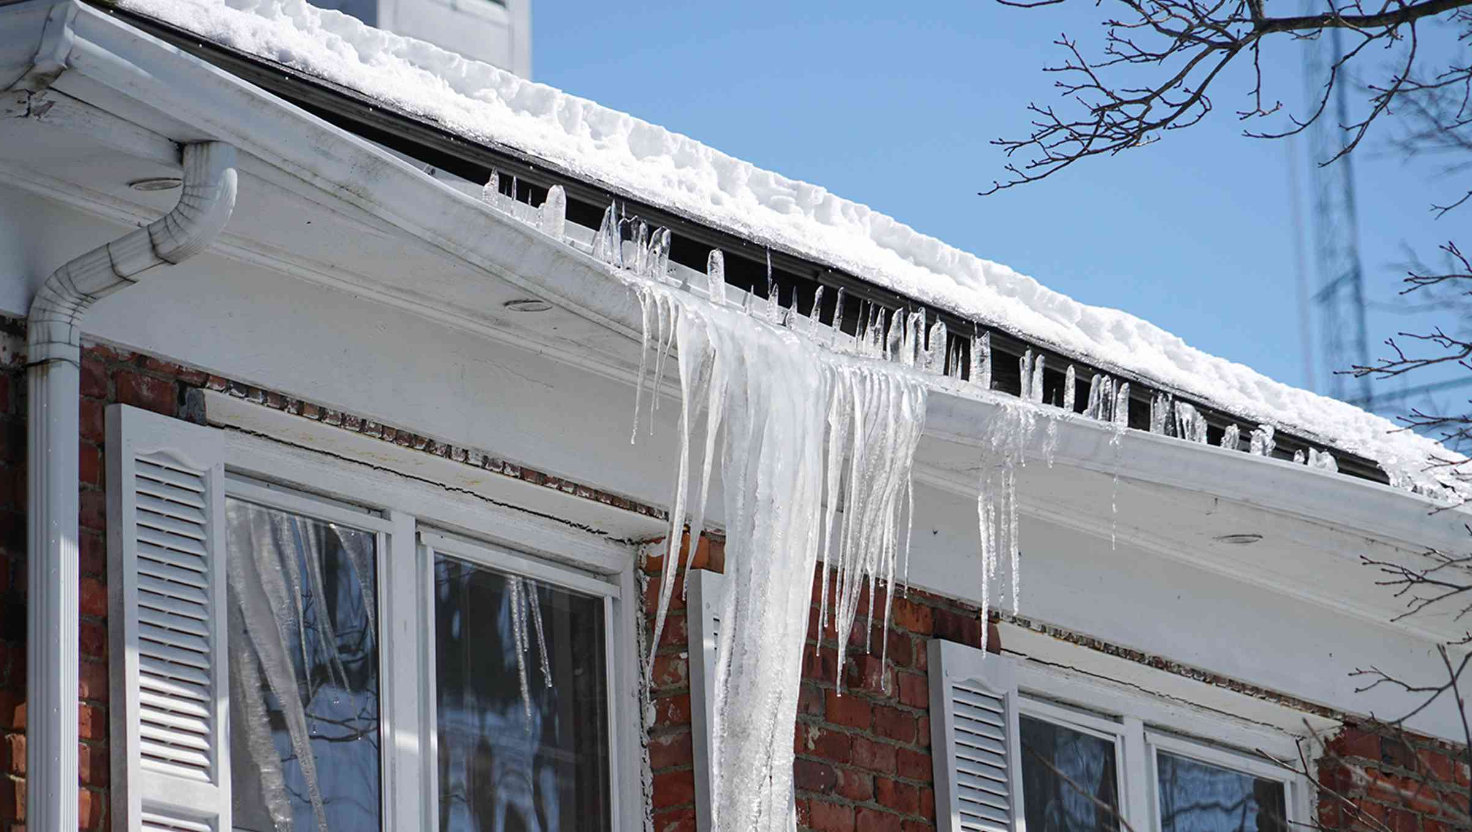
1. Icicles Forming Along the Roof’s Edge
Large icicles hanging from your gutters or roofline may indicate an ice dam forming above them.
2. Water Stains on Ceilings or Walls
If water is seeping into your home, an ice dam could be forcing melted snow under your shingles.
3. Sagging or Detached Gutters
Ice dams put extra weight on gutters, causing them to pull away from the roof.
4. Uneven Snow Melting on the Roof
If some areas of your roof are clear while others still have snow, it’s a sign that heat is escaping unevenly, leading to ice dam formation.
How to Fix Ice Dams on Your Roof
If you spot an ice dam, acting quickly can prevent further damage. Here are the best ways to remove ice dams safely:
1. Use a Roof Rake
A roof rake allows you to remove excess snow from your roof while standing safely on the ground. This reduces the amount of melting snow that can contribute to ice dam formation.
2. Apply Calcium Chloride Ice Melt
Sprinkle calcium chloride (not rock salt) over the ice dam to melt it gradually. Avoid using salt, as it can damage shingles and gutters.
3. Create Drainage Paths
Fill a nylon stocking with calcium chloride and place it perpendicular to the ice dam. This will create a channel for water to drain safely off your roof.
4. Use Warm Water (Temporary Fix)
Pouring warm water over the ice dam can temporarily melt the ice and allow water to drain, but this is not a long-term solution.
5. Hire a Professional
For severe ice dams, it’s best to contact a professional roofing contractor like Pete’s Builders to safely remove the ice without damaging your roof.
How to Prevent Ice Dams from Forming
Preventing ice dams is the best way to protect your roof in winter. Here are some long-term solutions:
1. Improve Attic Insulation
Proper attic insulation keeps warm air inside your home, reducing uneven snowmelt on the roof.
2. Ensure Proper Ventilation
Good roof ventilation helps maintain a consistent temperature, preventing heat from escaping and causing snow to melt unevenly.
3. Seal Air Leaks
Close gaps around vents, chimneys, and attic access points to prevent warm air from rising and causing snow to melt.
4. Keep Gutters Clean
Clogged gutters can contribute to ice dam formation. Regularly clean your gutters in the fall to ensure proper drainage.
5. Install Ice and Water Shields
Adding an ice and water shield under your shingles can provide an extra layer of protection against leaks caused by ice dams.
Trust Pete’s Builders for Your Roofing Needs
At Pete’s Builders, we specialize in roof maintenance, ice dam removal, and prevention to keep your home safe during winter. If you’re dealing with ice dam issues or want to winterproof your roof, contact us today for a professional inspection and expert solutions!